{Please note that I was given some of the paint used in this project by
Dixie Belle Paint Company. All opinions are my own.}
The Rules:
- Upcycle an item(s) from a thrift store, resale store, or garage sale into a new piece of decor.
- There's no monthly theme.
- There's no budget to stick to.
Meet the Hosts
Amanda | The Kolb Corner Erlene | My Pinterventures Kim | Made in a Day
Dru | Polka Dot Poplars Maureen | Red Cottage Chronicles Pili | Sweet Things
Debra | Shoppe No. 5 Marie | DIY Adulation Havalah | Sisters, What
Chelsea | Making Manzanita Ann | Duct Tape and Denim
Molly | Just a Little Creativity Ashley | 3 Little Greenwoods Kimm | Reinvented
Kim | Farmhouse Made Victoria | Dazzle While Frazzled Sara | Twelve on Main
Chelc | Inside the Fox Den Michelle | Our Crafty Mom Jeannee | Shepherds and Chardonnay
Jennifer and Vicki | 2 Bees in a Pod Lora | Craftivity Designs
Ali | Home Crafts By Ali Denise | My Thrifty House Kathleen | Our Hopeful Home Jeanie | Create & Babble Michelle | Michelle James Designs
Three-legged round decorator tables have been a part of the home decor scene for a long, long time. They're used as end tables, bedside tables and in many other instances as fill-ins where you need just a little sumpin sumpin to fill a corner or otherwise empty space in a room. You might have seen them for sale in places like Wal-Mart or Bed, Bath and Beyond.
Make sure you follow our board on Pinterest for more upcycled decor inspiration!
I picked this one up at Goodwill for $3.99 a few years ago. I've used it in different rooms in the house, usually covered up with some type of DIY burlap or dropcloth tablecloth. But today I'm happy to report that after using a little bit of paint this table is dressed up enough to work "naked" in any room in the house! I like the fact that they're so lightweight that you can easily move them around the house as your design needs change. (Cause this girl changes her designing mind quite frequently!)
Here it is, upside down on the kitchen table after I taped off the legs with painter's tape. I've always wanted to paint "dip" something, and this worked out to be the perfect piece for it!
Here's what you'll need for this super easy project, not including the table:
1. White Paint (I used Dixie Belle paint in Fluff ~ don't you just love that name?)2. Gold Paint (any acrylic craft paint will do; you don't need a lot)
3. Tape Measure
4. Painter's Tape
5. Paintbrush
I started off by measuring and marking each leg with a pencil mark where I wanted the gold paint to begin (or the white paint to end, depending on how you look at it!) My line ended up being almost half way up the leg. (The leg was 23" and I marked it off at 10" from the bottom. You can always change the way the paint colors are divided. I basically just eyeballed it to my taste.)
I have found that it is virtually impossible to wrap a single piece of tape around a table leg and expect it to be completely even all the way around. So I rip the tape up into small pieces and attach those pieces together to form a band around the table leg. I've used a similar method in taping off a round mirror.
Then I painted the table top and the top portion of the legs (two coats) with my Dixie Belle paint in "Fluff," followed by painting the lower portion of the legs with gold acrylic craft paint. As stated at the beginning of this post I was given the paint by Dixie Belle to try but the opinions here are all my own. I love Dixie Belle's thick, creamy paint that goes on beautifully and dries really fast! Trust me, that's a true perk for someone as impatient as I am!
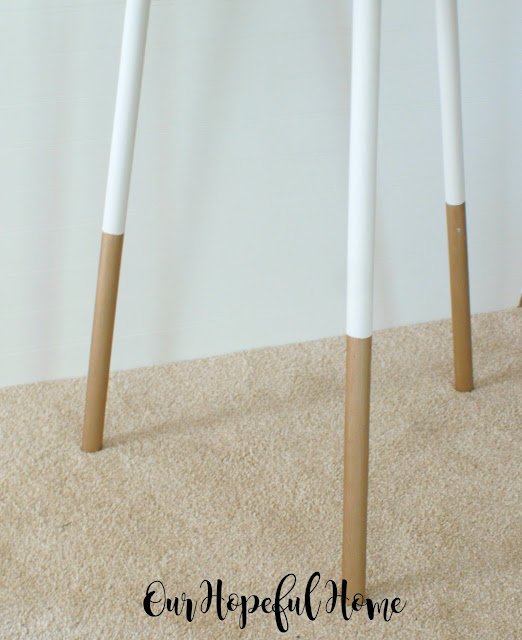
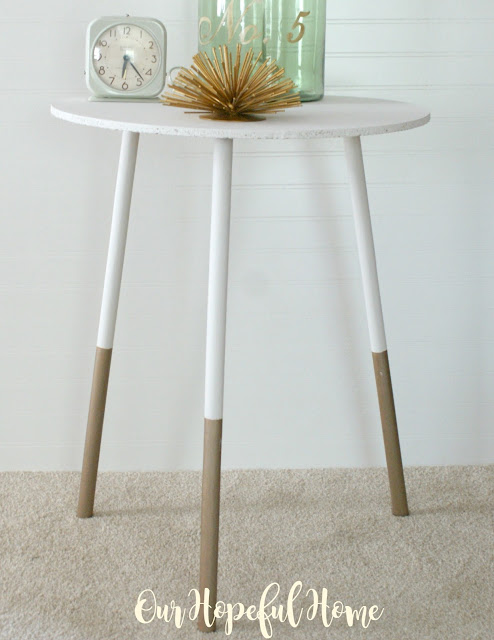
And here's a close-up of the paint-dipped goodness! I guess by now you've figured out that the table legs aren't actually "dipped" in paint, they just look that way!
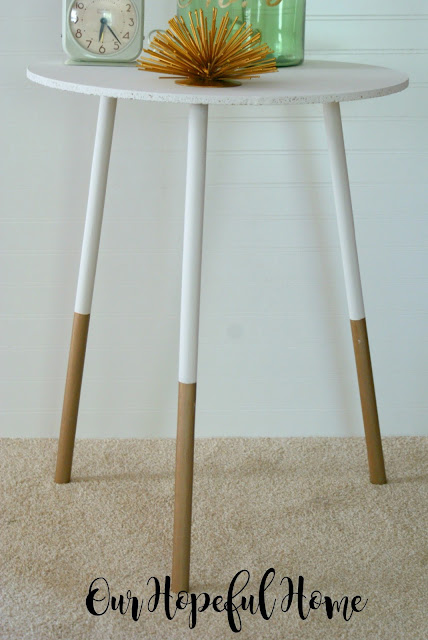
I had fun staging the table with various vignettes. Here I used a gold metal accent piece from Target that I picked up at Goodwill, along with my Target (Goodwill) glass table lamp and vintage Goodwill alarm clock.
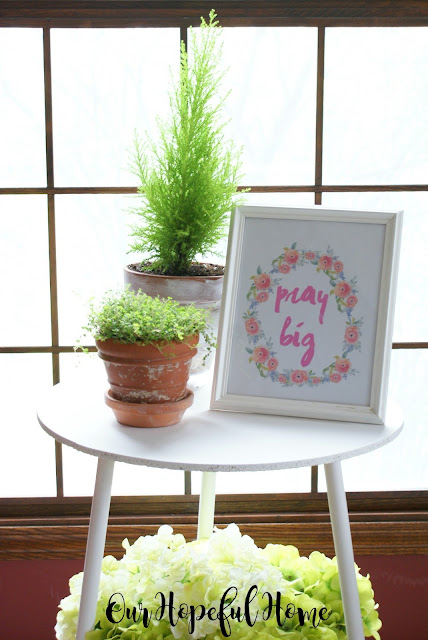
I also staged it with some spring greenery and a recent printable that I put together with the intent to share with you in the near future.
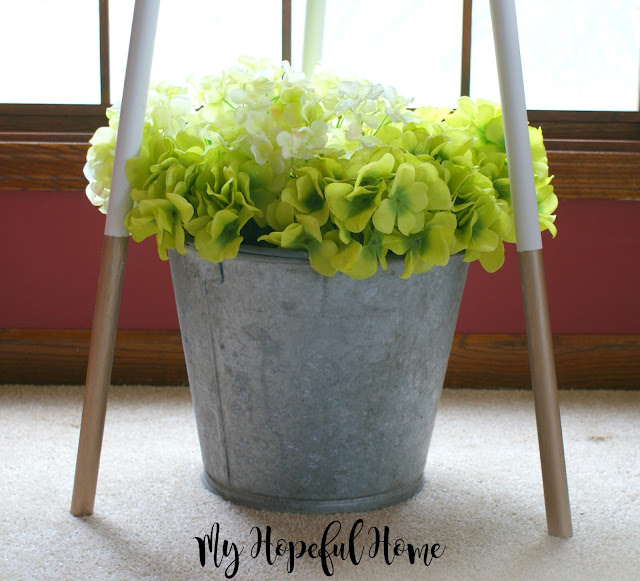
Don't the gold legs look fabulous next to the galvanized bucket?
We had a few gray days here so I was pressed for time in getting a good photo with natural light. I normally wouldn't stage things in front of a window but it was my only shot at getting some real light.
So what do you think? It's easy, inexpensive AND it allows me to inject a bit of farmhouse glam into my decor. That's a win in my book!
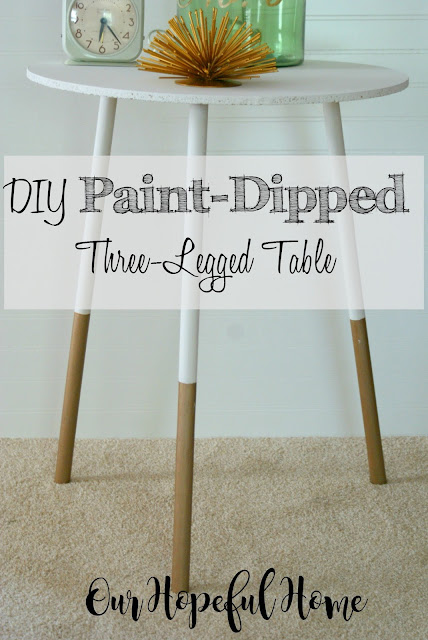
I hope you enjoyed reading about my DIY Paint-Dipped Three-Legged Table.
And thanks for spending time with me today!
Be sure to stay in touch:
Just click on my Facebook, Pinterest, Twitter or Instagram icons in my top right sidebar. You can also sign up there to receive my blog posts via email as well.
Don't forget to Pin it!
And now for more thrifty goodness!
Check out what my fellow upcyclers created below!








Leave a Comment!
Love your table makeover! It is so very pretty and stylish now. We can definitely see that this can be a table used in many locations of your beautiful home!
Vicki and Jenn
2 Bees in a Pod
Wow, what a transformation. I think most of us have a table like this. Mine is currently under the bed. I am thinking it is time to pull it out and paint it.
That's funny, we found that same gold metal accent piece at a thrift or consignment store! We are going to stick ours in some strange corner near the ceiling for fun!
You made this table look pretty! We had one for a long time and I got rid of it before I started blogging but I always thought they were pretty ugly. I should have kept it and used your idea for inspiration! Nice job.
Darn it! Now I wish I wouldn't have thrown away the two tables I had. Yours turned out so pretty.
I love the gold paint. Such a great makeover on a versatile table. Thanks for the inspiration.
Your table makeover is so fun! I've seen those at thrift stores, but never bought one because I didn't want plain wood. Your two tone paint job is a wonderful idea.
Your Table is so fabulous! I really love modern and it looks so modern! I'm going to have to copy it to put in my guest room!
Jeannee
I love the gold dipped look! Now I need to make one.
Ooooh, I love that gold dipped look! It's so adorable!
This looks so much more stylish with it's simple makeover!
There is something so classic about white & gold. Love this little Table!
Whoa! This $4 table is looking fabulous. Love the gold paint!
Thanks so much for the inspiration!
{BIG hugs}
~Ashley
The table looks great with the painted gold legs. It looks modern and totally updated now.
Post a Comment