

I'm a huge chalk transfer enthusiast. The method allows you to transfer any image you want onto a chalkboard. It's an easy, inexpensive and effective way to transfer custom images without a Silhouette machine or pre-bought stencils.While my latest DIY farmhouse sign was made on a piece of wood and not on a chalkboard, I still managed to use the same principles I use with my chalk transfer method to get the job done. I'm calling it the "pencil transfer" method.
This post contains affiliate links. A purchase of any one of these items helps to support this blog and its creative efforts at no cost to you. To read more, please see my disclosure page.
I'm happy to share my DIY pencil transfer method with you, but first, let's talk fonts, shall we? I've always found choosing the right font to be a daunting task, however, I've come up with a few tips and tricks in that department.You can find out what they are by dropping by How To Find And Choose The Best Free Fonts.
I've wanted a "Stay Awhile" farmhouse sign for quite some time now, but didn't want to pay the prices I was seeing for it online.
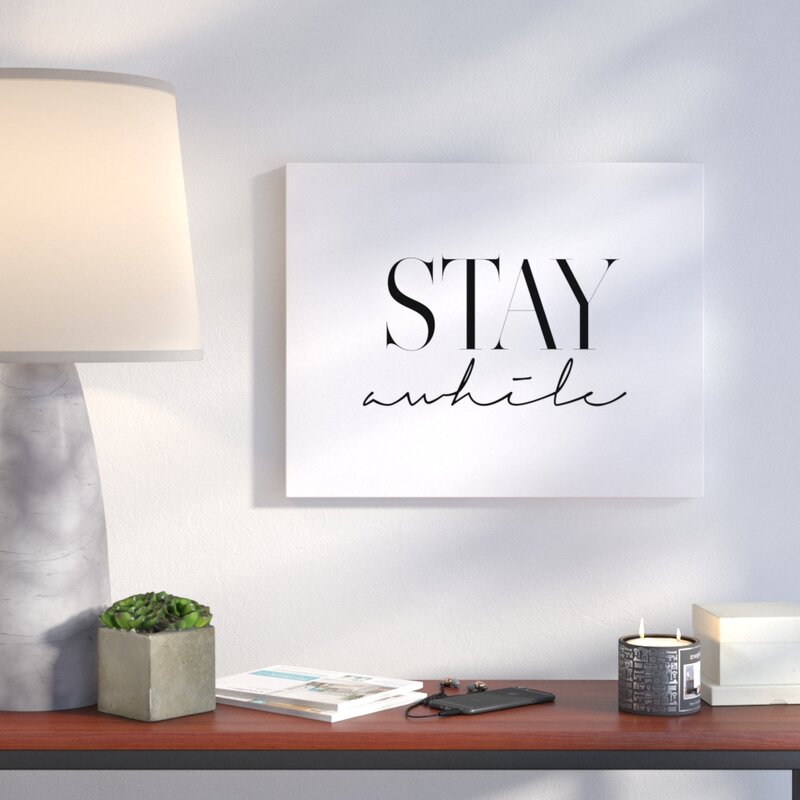
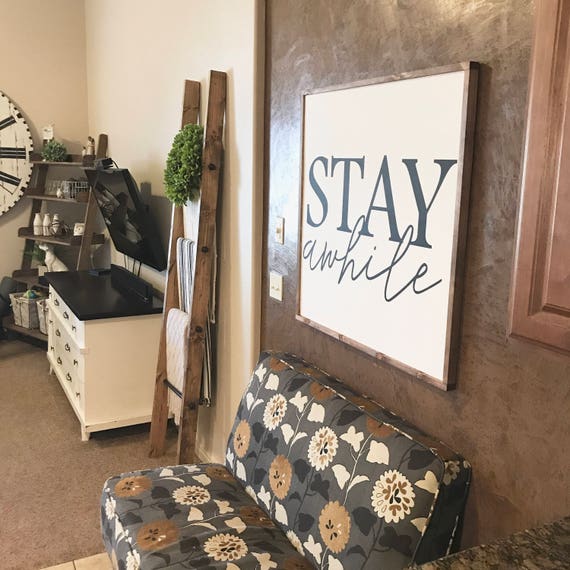
So you see my problem.While they're all lovely, I could not justify paying those prices. I knew I could make my own on the cheap.

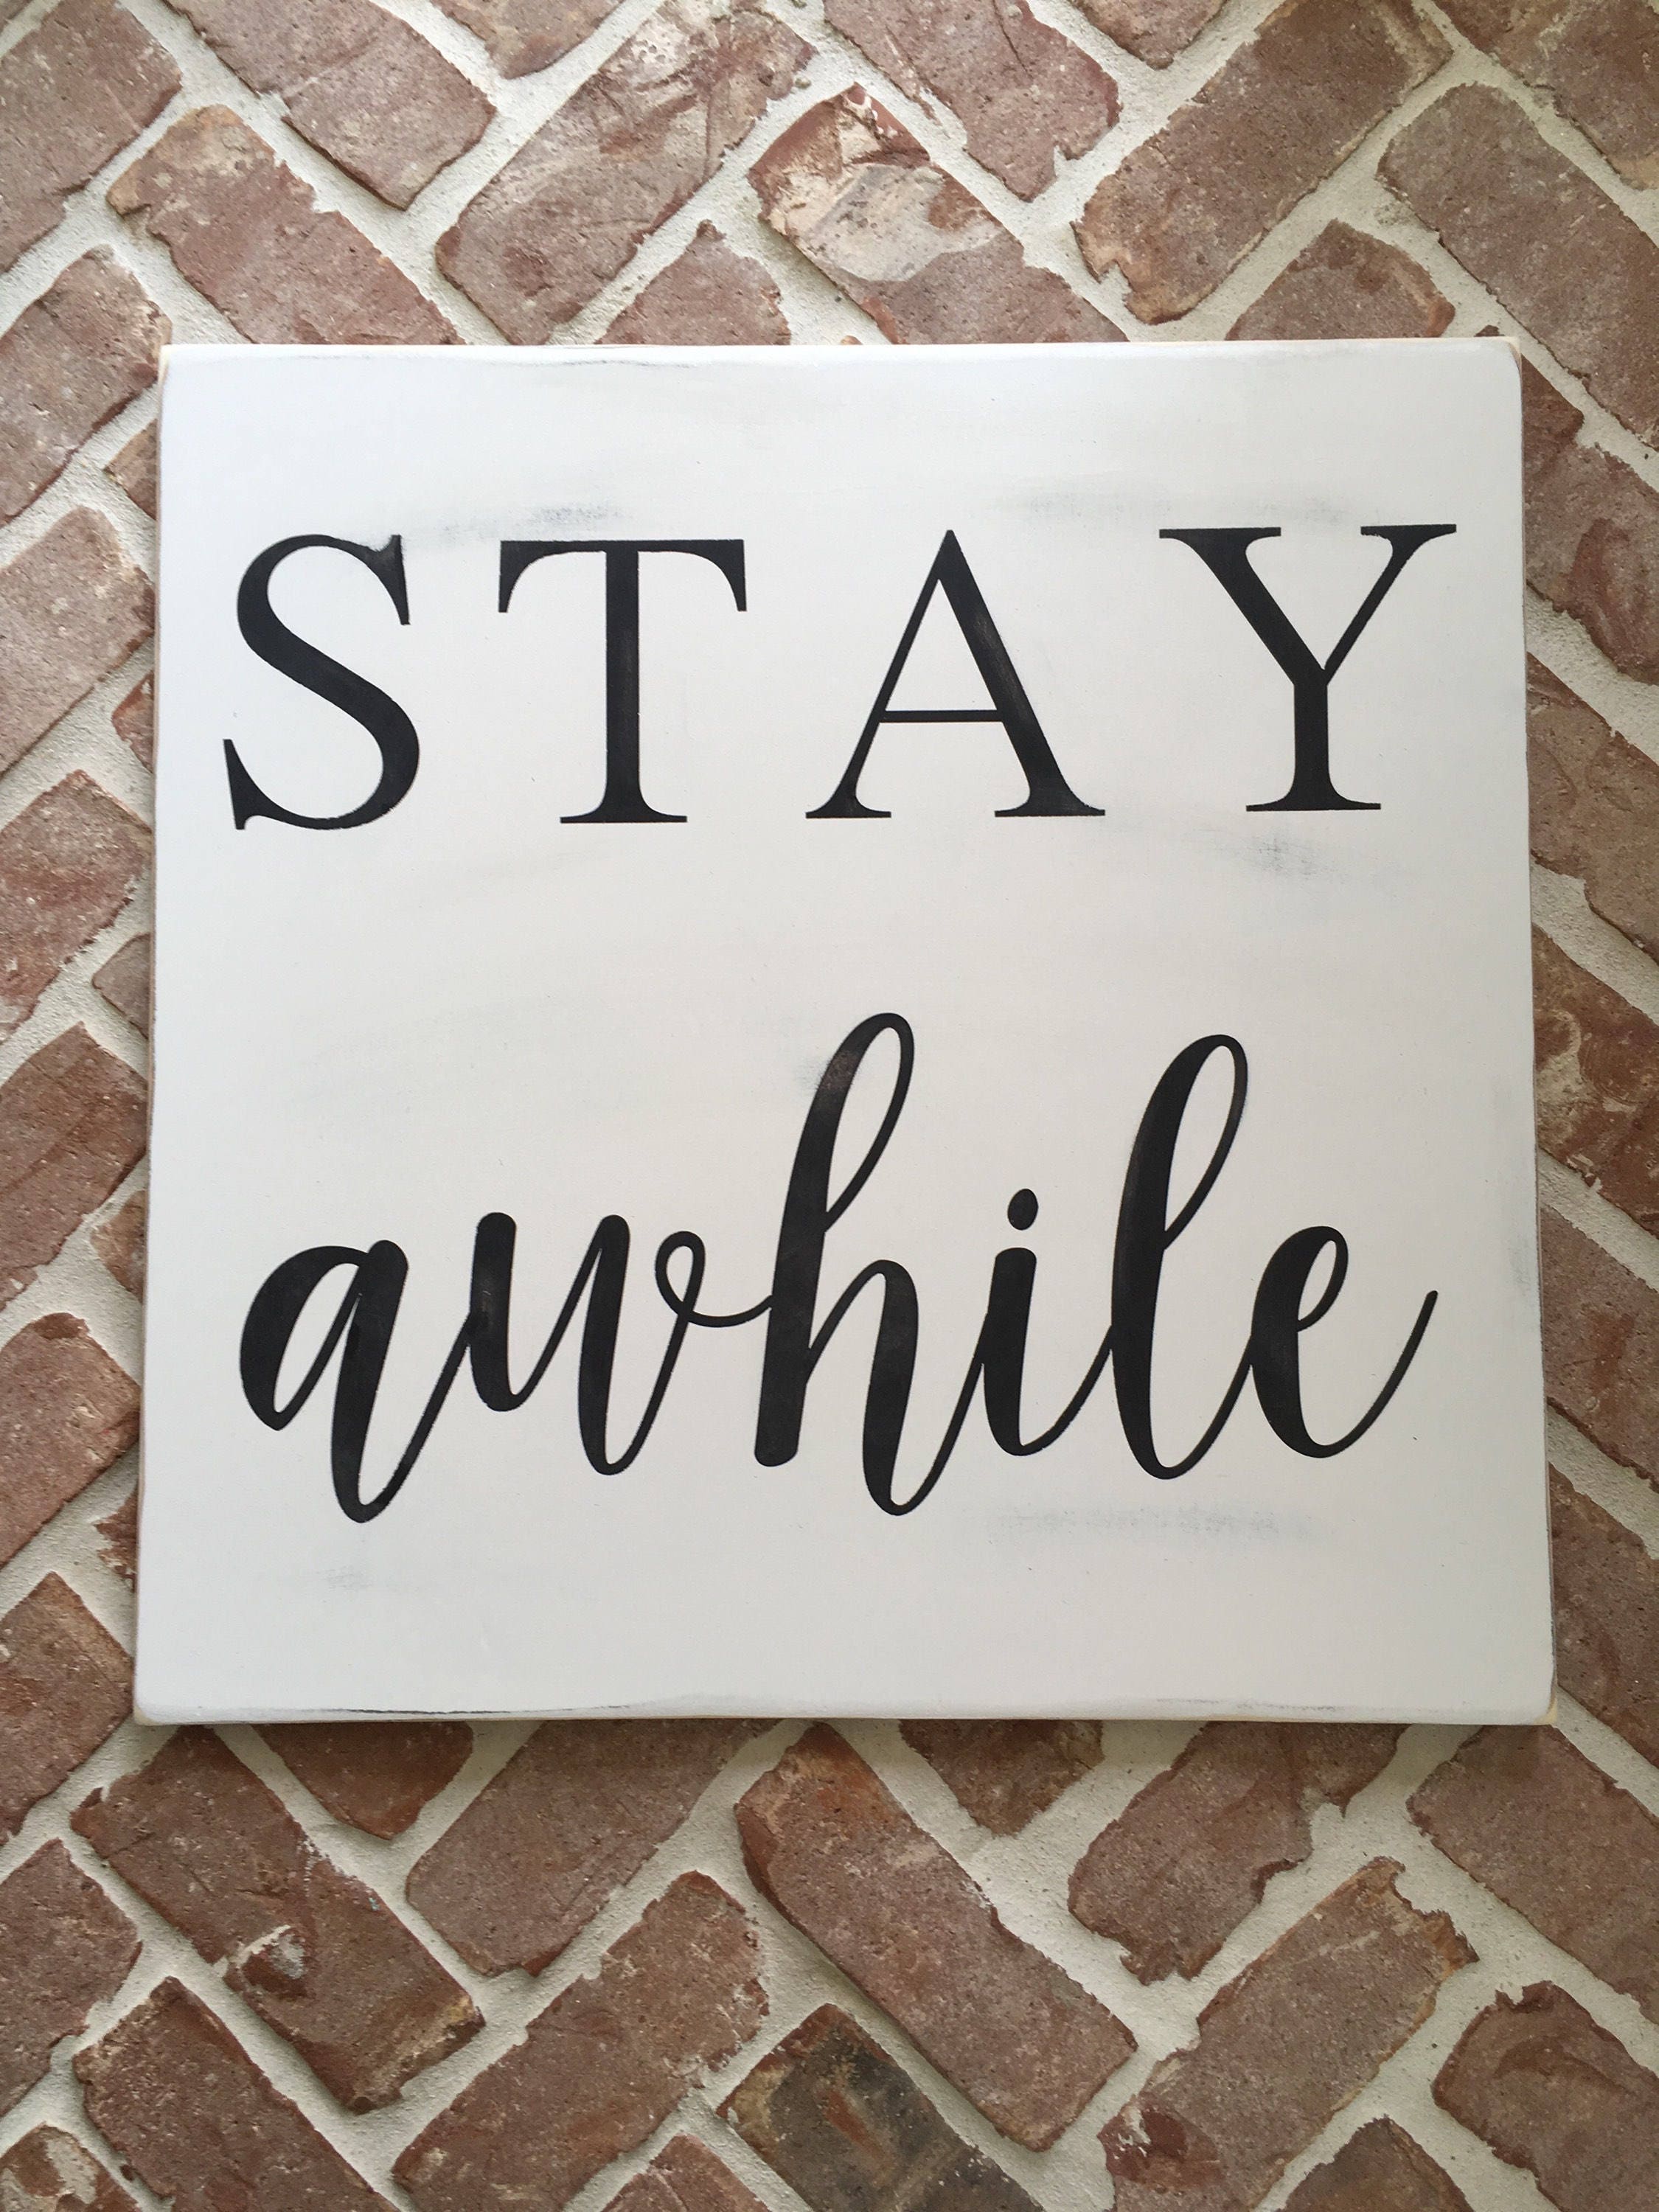
When I found this cute blank sign in Target's Dollar Spot for just $3.00 I knew it was meant for me. It matched the color scheme in my family room and I'm a DIY sign junkie, so -- what's not to like? The sign measures 14" x 10". You can find similar blank craft signs and paint them whatever color you'd prefer. My first step was to decide which fonts I wanted to use. Based on my inspirational signs, I looked for a regular text font for the word "Stay" and a handwritten font for the word "awhile."

Once I choose the font(s) I go into Word and print them out, playing around with the sizing until I get it just right based on the size of my sign. You can see here that my two words seem to fit perfectly on the blank sign. Trust me, getting them to be just the right size may take a while if you're new at it. But the more signs you create this way the easier it gets to eyeball the proper size.
For the record my font choices were:
1. "Stay": Bell MT
2. "awhile": Ballerina Script
Once you've chosen the fonts it's smooth sailing from there.

1. Print out the words in the correct size.

2. Flip them over and carefully outline each letter ON THE BACK in pencil. DO NOT DO THIS WHILE THE WORDS ARE ON YOUR SIGN. DO IT IN A SEPARATE AREA. No need to fill in the letters, just outline them on the back.

3. Flip the paper back over to the front and place the words on your sign exactly where you want them, using painter's tape to hold them in place. (I do not show the painter's tape.) Now use the same pencil to outline the words yet again, but this time on the FRONT side of the paper.

5. When you pull the paper up you'll see a faint outline of the words you want on your sign.

6. Finally, using a paint pen, outline the letters again and then go back and fill them in!

And voila. Here it is hanging on my gallery wall.

I had a hard time getting natural light in the family room so I moved it onto the electric fireplace in the living room to get some better pictures.


The only question now is what do I put on the wall to the left of it? I'm guessing it will be another family photo of some sort, or perhaps a recent flea market find.
I'm pretty impressed with my "Stay awhile" farmhouse sign that cost me all of $4.50 ($3.00 sign and $1.50 paint pen). What do you think?
I do think the pencil transfer method is the way to go for people like me who do not have a Silhouette machine or Cricut machine and don't want to pay for stencils. An alternative is to make your own stencils, which I have also been known to do from time to time. Only you can decide which method is best for you.
If, however, you'd rather go the store-bought (and definitely the easiest) route, then you can always just order some "Stay awhile" farmhouse signs and call it a day. It's all about whatever works for you!
Well, that's it until next time, friends!
I hope you enjoyed reading
Stay Awhile Farmhouse Sign
With Pencil Transfer Tutorial
Don't forget to Pin it!
Be sure to stay in touch:


Don’t miss another thrifty,
DIY home décor post!


Leave a Comment!
Your sign turned out great! How nice of Target to have a board already in your colors, lol. I learned the pencil transfer method way back in high school - it's an easy way to get your pattern onto a painted piece. :)
Your pencil method is less messy than using carbon paper (do they still make it?). I think I would have made my pencil lines wider so I know it would show on the top side of the wood clearly. I have yet to try a paint pen; I will have to soon; I am lousy at stenciling and don't see that fancy Cricut in my near future!
Great tutorial, Kathleen! Gotta love the Dollar Spot ;)
Post a Comment