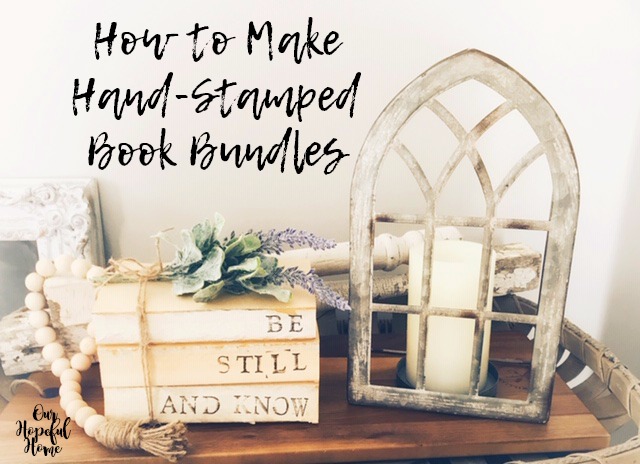
Looking for an easy, inexpensive shabby chic farmhouse home decor project? I've got you covered: hand-stamped deconstructed book bundles.
You can even embellish your creation once you're done. It's that easy. I'm just amazed how it has become a business, with prices ranging from (what I've found online) $12 to $36. My cost? I already had everything but the embellishments, which only cost me $1.00 at the Dollar Tree store. I'm sure you have most of these items in your stash as well. So let's get started, shall we?
Having pretty much started this project way back in 2011 with my Pottery Barn-Inspired Book Bundles, I figured it was time to get with the program and add some inspirational words to at least one of my many deconstructed book bundles. My only problem was what did I want to say? What message did I want to convey? What words did I want staring back at me on a daily basis? I had seven or eight front-runners but decided on Be Still And Know (Psalm 46:10). Once I figured that out I was ready to go.
Materials For DIY Deconstructed Hand-Stamped Book Bundles
1. Thrift Store or Dollar Tree books
(as many as you need for your saying)
(as many as you need for your saying)
2. jute twine
3.stamp pad (not shown)
4. alphabet stamps sized to your book spine height
5. faux greenery or floral (optional)
6. baby wipes for cleaning stamps (optional; not shown)
7. scissors (not shown)
6. baby wipes for cleaning stamps (optional; not shown)
7. scissors (not shown)
How To Make A Hand-Stamped Deconstructed Book Bundle
1. Tear covers off of books, including whatever cover material is on the spine; set books aside.
2. Practice stamping on paper to figure out preferred spacing (i.e., how many words per book would look best?).
3. Starting with the last letter of the first word (in my case that was an "e" as in "Be") , work your way backwards on the spine, stamping from right to left so that you're assured of proper spacing.
3. Starting with the last letter of the first word (in my case that was an "e" as in "Be") , work your way backwards on the spine, stamping from right to left so that you're assured of proper spacing.
4. I found it helpful each time I inked up a stamp to use baby wipes and clean off any errant ink that might be lurking on the stamp but not on the actual letter. This will hopefully help you avoid a sloppy look. It doesn't have to be perfect (that's a big part of the charm) but smeared ink would not be ideal.
5. Once you're done stamping, wrap one or two pieces of twine around your bundle and either knot it or tie in a bow.
5. Once you're done stamping, wrap one or two pieces of twine around your bundle and either knot it or tie in a bow.
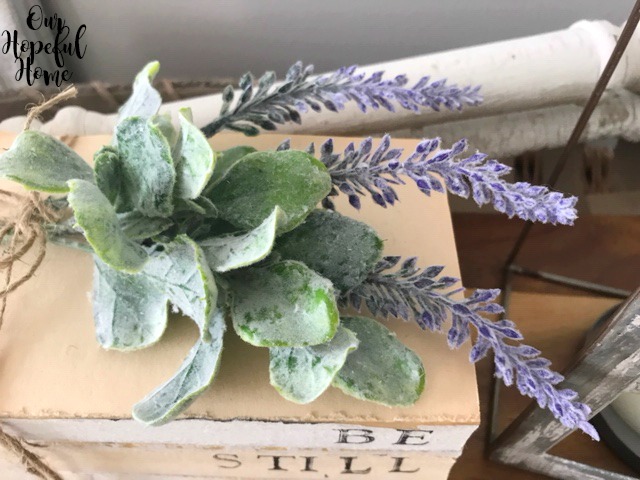
6. Slip in your favorite faux flowers or greenery under the twine (optional).
Customization is key. If you don't care for the particular style of book bundle I've created, there are numerous substitutions that can be made.
2. Incorporate farmhouse beads directly into your bundle
3. Add a small boxwood wreath as embellishment next to the words
4. Use ribbon instead of string
3. Use stencils instead of stamps
4. Use colored ink/paint/Sharpie instead of black
The funnest part of creating book bundles is being able to use them in vignettes when you're done! I chose to set up this book bundle with a metal, arched, gothic-inspired candle holder.
I got the jute twine not long ago at Dollar Tree. They used to sell it in their floral/craft area but my store had none of it in that area when I last checked. I was sad because I've always purchased my jute twine at Dollar Tree. Then, lo and behold, I found a package of three spools of jute twine (albeit one was green) in the AUTO section. Go figure.
These are some of the rubber alphabet stamps I used. I actually had them from back in the day when I was an avid scrapbooker. For reference, I'd say the letters were approximately 3/4 inches high and the book spines were approximately 1 1/2 inches high. It worked out well. That's one reason for using all the same, or at least similar, size/height books. It'll be easier with just one size of alphabet stamps to worry about.
You know what they say: "Measure twice, cut once." Make sure you do a test run with your stamps and get an idea as to how the wording will look once you actually stamp it out. Again, it doesn't have to be perfect, but you'll probably want to stamp a bit straighter across than I did in the above test run.
Variations In Book Bundle Design
1. Use different sized books2. Incorporate farmhouse beads directly into your bundle
3. Add a small boxwood wreath as embellishment next to the words
4. Use ribbon instead of string
3. Use stencils instead of stamps
4. Use colored ink/paint/Sharpie instead of black
The funnest part of creating book bundles is being able to use them in vignettes when you're done! I chose to set up this book bundle with a metal, arched, gothic-inspired candle holder.
You'd never know that I picked it up at Dollar General for $8.00. I've seen similar items selling for way more both in local stores as well as online.
I also chose to display my book bundles with some chippy, shabby balusters as well as some wooden farmhouse beads.
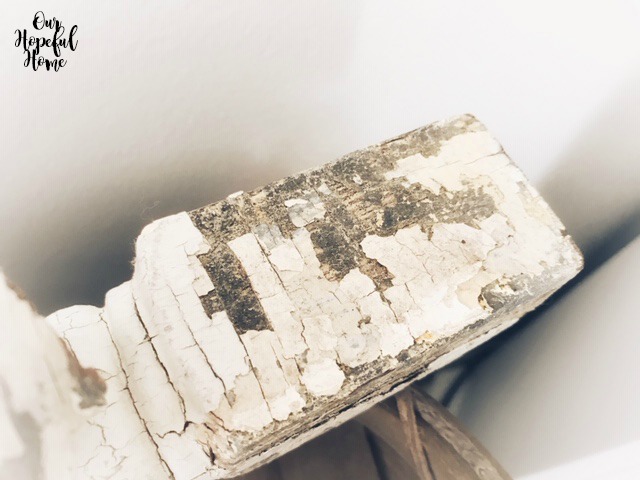
The chippy shabbiness of the balusters is a true sight to behold.
And this seriously vintage, chippy shabby baluster is from a flea market in Nashville, TN. Yes, I carried it home in my suitcase. No judging please.

It just goes to show that with a few inexpensive supplies and home decor accessories you can create a look for your home that you absolutely love.
Well, that's it until next time, friends!
I hope I've inspired you in some way
and that you've enjoyed reading about
How To Make Hand-Stamped Book Bundles.
Don't forget to Pin it!
Be sure to stay in touch:


Leave a Comment!
Love this charming vignette and your stamped covers, Kathleen!
These turned out so nice, Kathleen...such a versatile idea, too!
It looks wonderful Kathleen and such a warm and beautiful vignette dear friend.
Thank you for your sweet and kind comment on my blogging situation, you are part of my decision as you are one of the wonderful friends that commented and made come up with a sort of final decision, which I explain on my last post along with a Summer tablescape.
Love,
Fabby
Great job and love the styling.
Enjoy you day
Cindy
Great project and great vignette!
Kathleen, I have tried to do these books and have not been happy at all with what I've accomplished. After seeing how you did yours I'm ready to do it again and this time I feel like I know what I'm doing! Thank you very much for showing how to this project.
Post a Comment