Today I'm showing you how to make a chunky yarn pumpkin easily and inexpensively.
This post contains affiliate links. A purchase of any one of these items helps to support this blog and its creative efforts at no cost to you. To read more, please see my disclosure page.
Back in the day it seemed like the only kind of decorative pumpkins you'd see in the stores around this time of year were solid colored. And orange. And boring. Like this one. Well, those days are clearly gone!

Now, no matter where you look, all you see are buffalo plaid pumpkins, burlap pumpkins, velvet pumpkins, corduroy pumpkins . . . . need I say more? You can read about these orange and white buffalo check beauties in Dollar Tree Treasures # 17: Fall Finds. And I've embraced that trend wholeheartedly, even to the extent that I'm making my own fuzzy (yes, fuzzy) chunky yarn pumpkins this year. Read on to see how I did it.
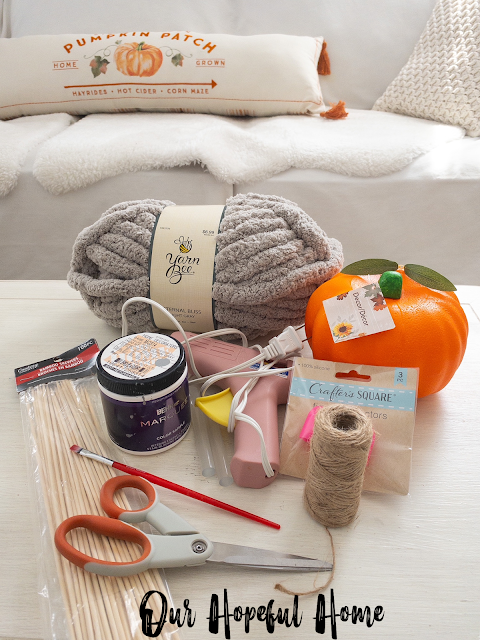
SUPPLIES FOR DIY CHUNKY YARN PUMPKINS
1. foam pumpkin (I got mine at Dollar Tree.)
2. fuzzy yarn (I used Yarn Bee Eternal Bliss in Light Gray from Hobby
Lobby, 100% polyester, Yarn Weight Jumbo. You can also try
Lion Brand Chunky Knit in Linen).
3. paint in color(s) of your choice
4. paint brush(es)
5. glue gun
7.
hot glue finger guards
(I got mine at Dollar Tree.)
8. scissors
9. bamboo skewers (I got mine at Dollar Tree.)
10. faux leaves (optional)
11. real wood branches to turn into stems (not shown, optional)
HOW TO MAKE A CHUNKY YARN PUMPKIN
1. Paint your pumpkin to match the yarn color you're using, and paint the
stem an appropriate color (unless you're using actual wood sticks, in which
case you need to cut off (or pull out) the foam stem and dig out a small
hole for you to place and glue the stick into as your last step). I painted
the pumpkins gray and the stems brown.
For drying, push bamboo skewers into bottom middle of pumpkin and place the
skewers into a glass to hold the pumpkins while they dry fully.
2. Measure out and cut an appropriate length of yarn to reach from underneath the pumpkin all the way to the top of the pumpkin, just before the stem (or hole for stem).
3. Place a line of hot glue along one of the indentations on the pumpkin, from the underside all the way up to the top.
4. Gently place the yarn you've already cut out on top of the line of glue
and give it a minute to cure.
5. Work your way around the pumpkin, one piece of yarn at a time. Then go back and fill in any bare spots. Not all pieces of yarn will be the same length. If you've painted your pumpkin a similar color you shouldn't have to worry too much about the pumpkin itself peeking through anywhere.
6. In order to make the pumpkin sit flush on the table you might have to
trim the yarn on the bottom of the pumpkin a bit and it might end up looking
less than perfect. But as long as it sits fairly flat you're ok. No one's
going to see the bottom!
7. (Optional) If you've chosen to add a wood stem, now's the time. Use your glue gun and add the stem.
8.(Optional) Add some faux leaves around the stem with a dot of hot glue.
I chose to skip this step.
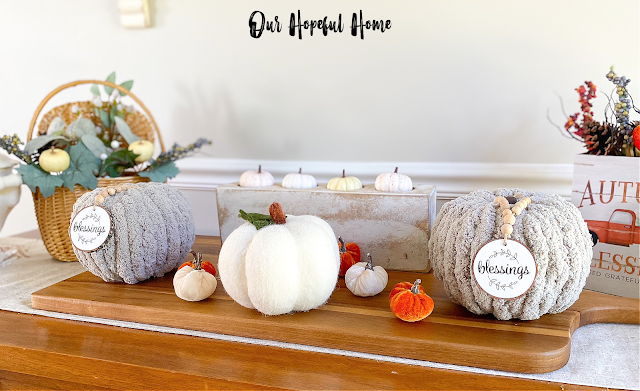
I was going to make two white yarn pumpkins to go with the gray ones, but then I remembered I had a similarly sized white felt one they might look good with. See what I mean? The white felt pumpkin totally compliments the DIY chunky yarn pumpkins.
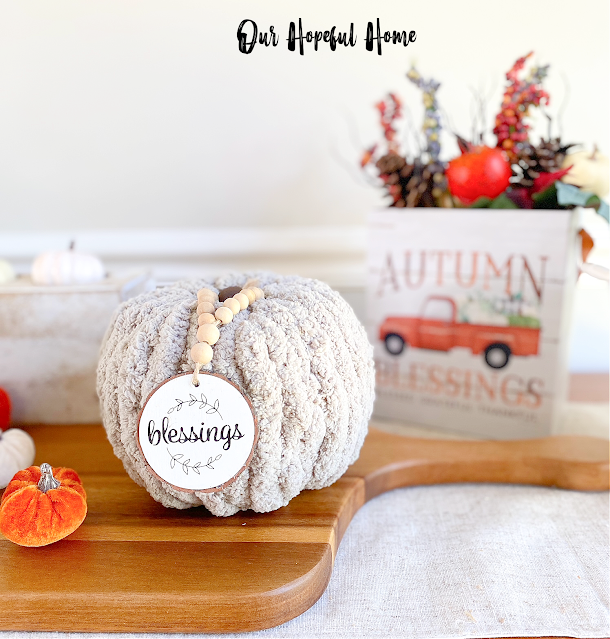
I was totally thrilled with the "fuzziness" of the chunky yarn pumpkin.
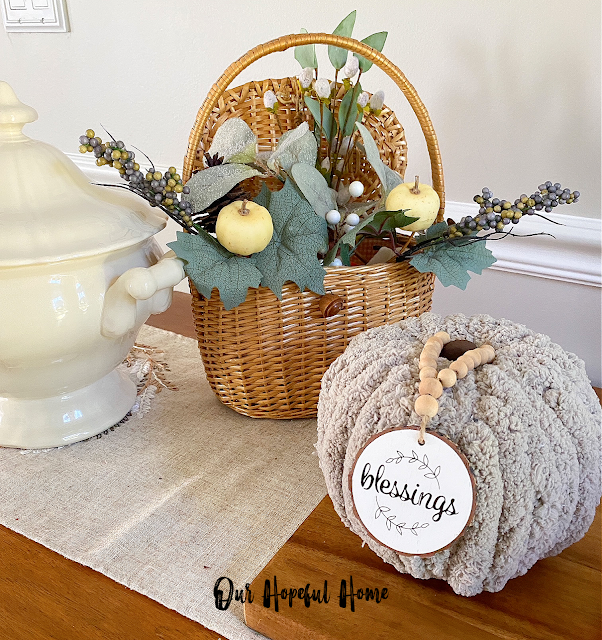
The wood bead garland with "blessings"written on a wood slice was $1.97 at Wal-Mart.
The "Autumn Blessings" box in the background is from Dollar Tree last fall. It's great for flower arrangements.
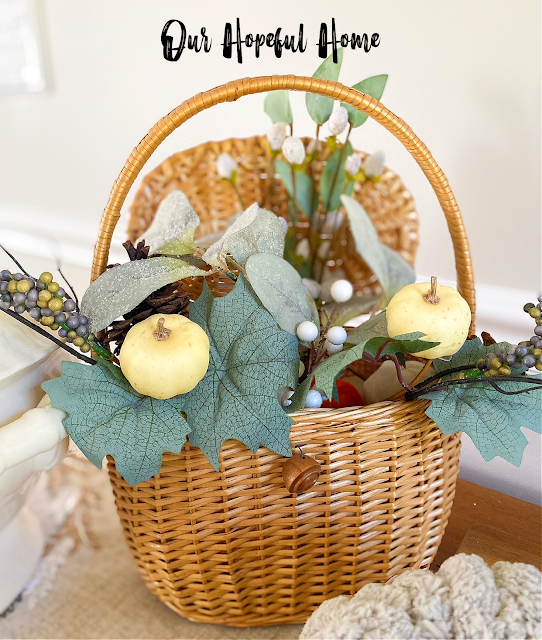
I got this lidded Nantucket basket at a church rummage sale years ago. I love pulling it out around fall time.
I think mixing textures adds warmth to a vignette.
This vintage sugar mold is something I've wanted for a hot minute but
always hesitated to buy due to high prices. Luckily for me I found this over
Labor Day weekend at a vintage market in MI. You usually see unpainted sugar
molds, but I loved this white one. And guess what fit perfectly inside each
hole? Dollar Tree clip-on baby boo pumpkins!
And as much as I love decorating with neutral colors for fall, I just had to add in some mini muted orange velvet pumpkins for a pop of color.

The two foam pumpkins were $1.00 each. The yarn cost around $4.00 at 40%
off (I probably used half of it). I already had the paint (sample pots from
home remodel) and all other supplies that were necessary. So all in all
these two pumpkins cost me around $4.00. After an internet search I found
that many yarn pumpkins are WAY more expensive than that. So I feel
good about the minimal money spent on this project, as well as the chunky outcome!
Well, that's it for today, friends!
I hope you've enjoyed reading about my
and that I've inspired you in some way.







Leave a Comment!
I love the yarn you chose and chunky texture! Well done!
Love these, that chunky yarn is so fun with so much texture. I can imagine these in every shade of orange! cute, cute!
Love your pumpkins; great clear tutorial, too. I love those hot pink finger protectors from DT. In my book, there is nothing worse than a glue gun burn when you are in the middle of crafting! I bought several of the same little pumpkins at DT and threaded them with other stuff on jute and bakery twine to make some cute garlands!
This is so cute Kathleen. What a great idea. Love that chunky yarn and color.
Happy Wednesday. xoxo Kris
Post a Comment