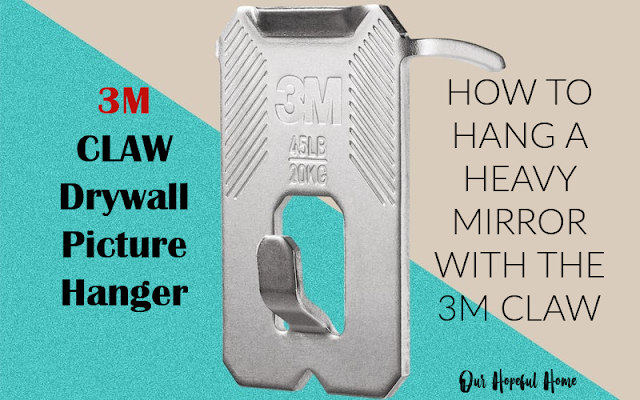
Today I'm sharing how to hang a heavy mirror using a 3M Claw Drywall Picture Hanger.
This post contains affiliate links. A purchase of any one of these items helps to support this blog and its creative efforts at no cost to you. To read more, please see my disclosure page.
We all know that drywall anchors can do the job, BUT . . . first you
have to drill, and then when you eventually pull the anchors out they
leave HUGE holes in the wall! And who wants to deal with that?
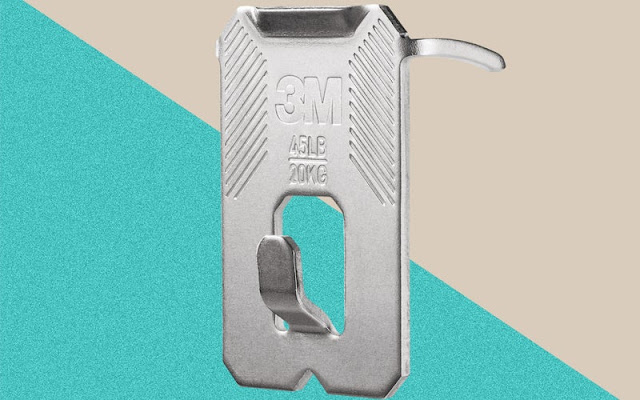
Enter the 3M Claw Drywall Picture Hanger. If you want to take it out later it leaves only minuscule holes by comparison! Never heard of it? Read on!
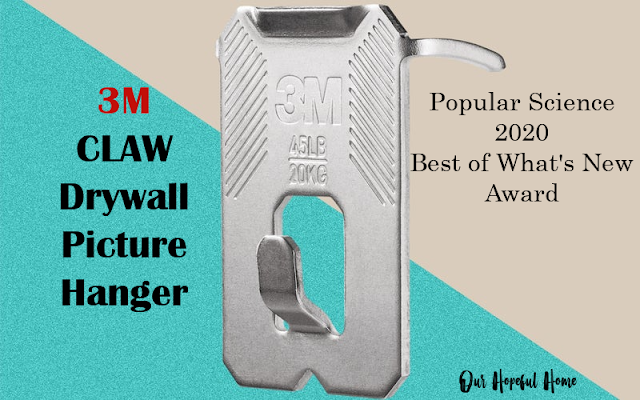
The 3M Drywall Picture Hanger is so awesome that it was named one of Popular Science's 2020 Best of What's New Award! And I'm here to show you why.
This product has revolutionized how to hang things from 15 to 65
pounds. (It comes in four different strengths: 15 lbs., 25 lbs., 45 lbs. and
65 lbs.) No more huge holes in your wall from wall anchors. No more anxiety
over putting the holes in the right place.
Seriously.
And here's the gorgeous Windsor mirror I thrifted many years ago
for just a few dollars. I always knew that I wanted to hang it on
that empty wall. Hanging this behemoth of a mirror was more than daunting. It
easily weighs 20-plus pounds, and we were wimps about putting
holes in the wall! So it lingered, propped against the wall, for a
few years. Yes, years.
So you can imagine my happiness at the thought it would be
hung!
On the back of the mirror it says Illinois Moulding Co., Chicago,
Illinois 60608 Made In the USA. Not surprising since we live in the
Chicago suburbs.
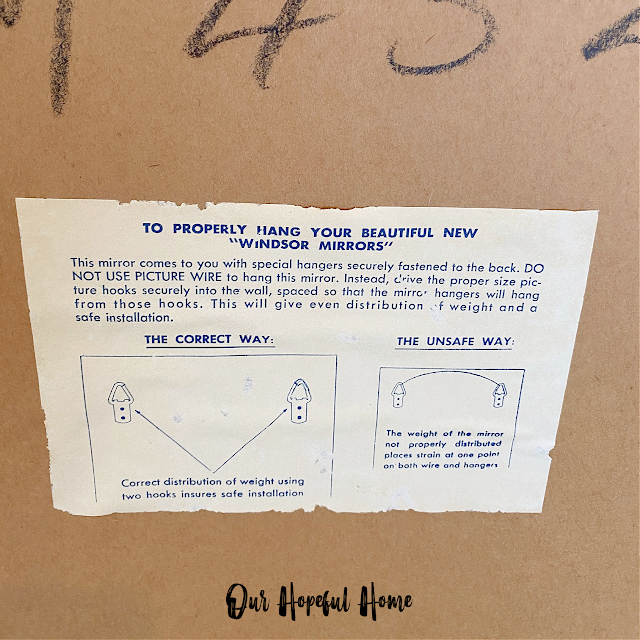
I found out it was called a "Windsor" mirror by way of this
instructional sticker on the back. It also talks about "the
correct way" to hang this heavy mirror, versus "the unsafe
way."
Basically, it's saying that you should not use picture hanging
wire due to the mirror's serious weight. It says you should use
"hooks" instead. Up until now that basically meant wall anchors.
But not anymore! I can tell you exactly what "hooks" (a.k.a. 3M
Claw) you should use and how you should use them!
HOW TO USE 3M CLAW DRYWALL PICTURE HANGER
Step 1: Identify Frame Hardware
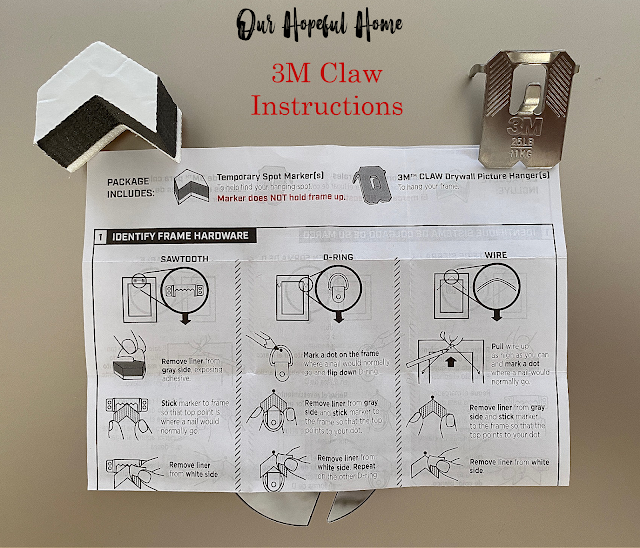
These are the actual 3M Claw drywall picture hanger instructions (for
Sawtooth, D-Ring or Wire hangers). Top left is the
temporary "spot marker" (sponge in the shape of an arrow with a removable
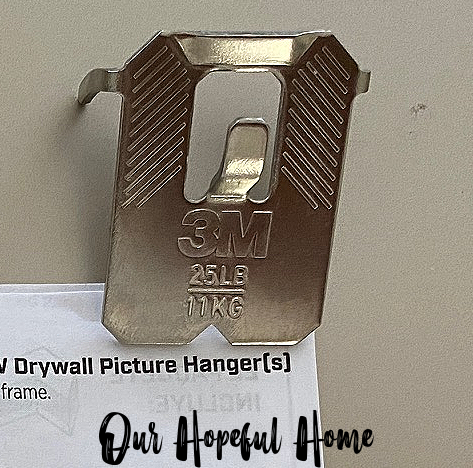
liner on both sides) and top right is the actual claw with prongs on the back (note
the notch in the bottom of it).
NOTE: the temporary spot marker does NOT hold the frame
up.
We followed the "D-Ring" instructions because that's what was on the back of our mirror -- two "D-Rings."
Step 2: Mark Hanging Spot
Note: For us, this step follows the D-Ring Instructions,
above, under Step 1. (Mark a dot on the frame where a nail would normally go and flip
down D-Ring. Remove liner from gray side and stick marker to the
frame so that the top points to your dot. Remove liner from white side. Repeat on the other
D-Ring.)
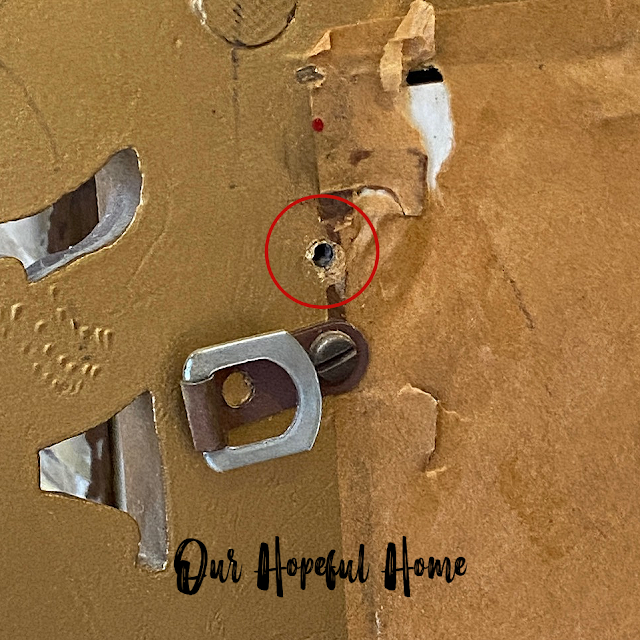
NOTE: Since our D-ring was secured by two screws, we had to remove the top screw that was holding the
D-ring in place before we could fold the whole thing down and out
of the way so we could then adhere the sponge marker to the back
of the frame.
Step 2 instructions say to lightly touch sponge marker to wall and
pull back, without letting go of the frame. (Now the sponge marker
is stuck to the wall.)
Then mark the wall with a pencil in the bottom notch of the sponge
marker. IMPORTANT: now remove marker from wall.
Step 3: Install Hanger
Align notch in bottom of hanger (see said notch above) to pencil dot on
wall. Keeping bottom edge against the wall,
place thumbs in upper corners of hanger and push in quickly and
firmly.
IMPORTANT Continue to push until hanger is
completely flush against wall.
Don't forget the removal part (printed on insert) for when you want
to take it all down. REMOVAL: Slide a flat head screwdriver
between the hook and wall, then gently pull away.
TIP: I always add felt pads to the back side of whatever I'm hanging so that the mirror or artwork doesn't make any marks on the wall.
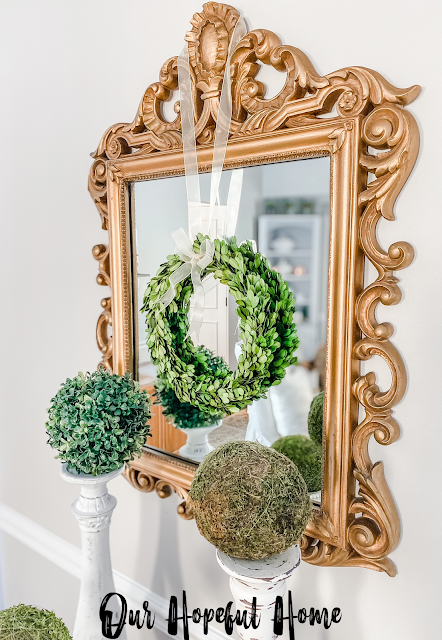
Here she is in all her glory. And I do have to say that I absolutely love how it looks on that wall!
Once it was finally hung I thought it looked like it had always been there.
It really was the easiest hanging job ever. Best part? You'll only be left with teeny tiny holes in your
wall when you decide to remove it! Trust me, this product works! If you have picture hanging phobia you can now breathe a sigh of relief and start hanging pictures!
P.S. We love this product so much that we just bought three variety packs (three different sizes) for future projects!
Unable to find that perfect mirror in your thrift store travels? Have a look at these, instead:
Well, that's it for today, friends!
I hope you've enjoyed reading about
How To Use 3M Claw Drywall Picture Hangers
and that I've inspired you in some way.
Don't Forget To Pin It!
Be sure to stay in touch:
Click HERE to subscribe.
Don’t miss another thrifty,
DIY home décor post!















Leave a Comment!
Hanging heavy objects is one of my least favorite tasks, so I appreciate the helpful tips!
Lol, I still get a bit anxious even with this great solution! I use those same felt pads for keeping walls (and doors for wreath hangers) from getting scratched. Thanks for the step by step on this!
Thanks for introducing us to this new product and the tips. It is so anxiety ridden to hang mirror or architectural pieces that are heavy. Happy Wednesday. xoxo Kris
Happy Birthday Kathleen! I am glad you were able to celebrate it with family. The mirror looks great! Thank you for the tip. XO- MaryJo
Post a Comment