This post contains affiliate links. A purchase of any one of these items
helps to support this blog and its creative efforts at no cost to you. To
read more, please see my disclosure page.
Here's my inspiration. I love Terrain and all their beautiful home
decor and garden accents. They're just a bit too pricey for me most of
the time.
When I saw this vignette on their website I knew I could recreate it
myself. Ironically, the bottle brush tree wasn't even for sale. It's
just being used as a prop for their forest scene lighted globe ornament
display. But I loved the entire look and wanted to recreate
it.
SUPPLIES FOR MAKING TERRAIN FOREST SCENE LGHTED GLOBE ORNAMENT (AND BAKERS TWINE BOTTLE BRUSH TREE STAND)
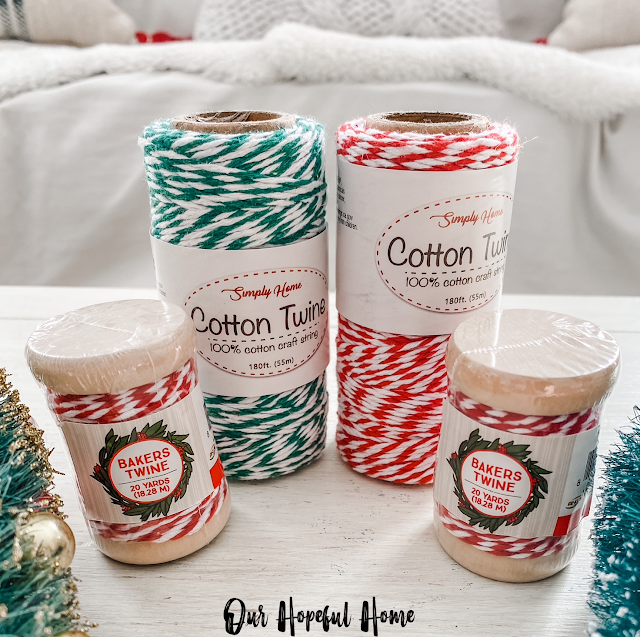
spool of
red and white bakers twine
spool of
green and white bakers twine (optional)
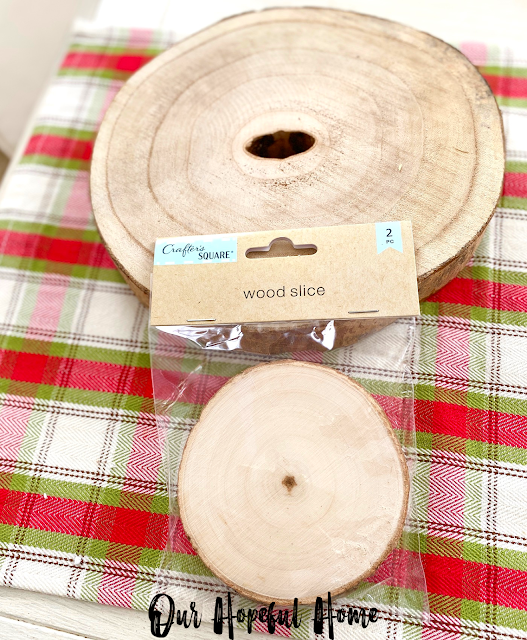
large wood round
small
wood rounds
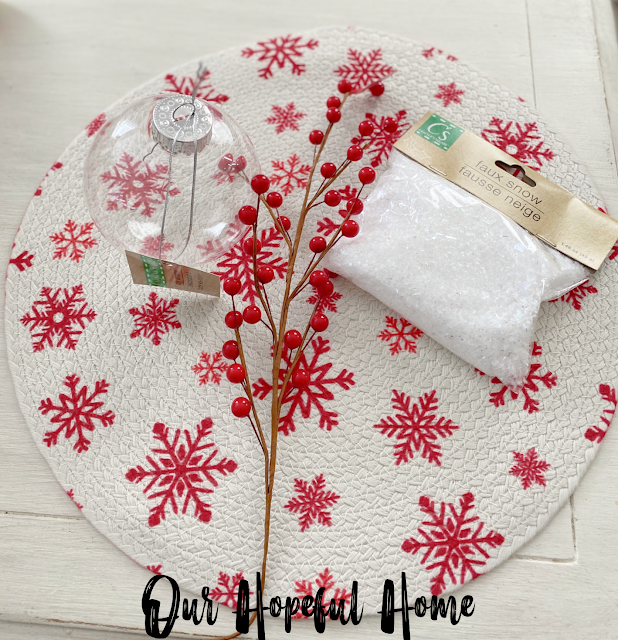
clear globe ornament
(mine was plastic)
red pip berry garland (easiest to use, not pictured))
or
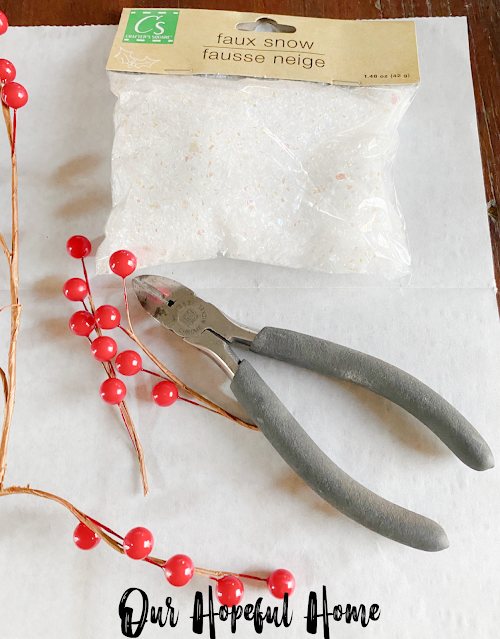
red berry twig stems (what I used)
NOT PICTURED:
spray adhesive (I used) or
mod podge
tweezers (optional)
cordless power drill
(optional)
PART 1. HOW TO MAKE BAKERS TWINE BOTTLE BRUSH TREE STANDS
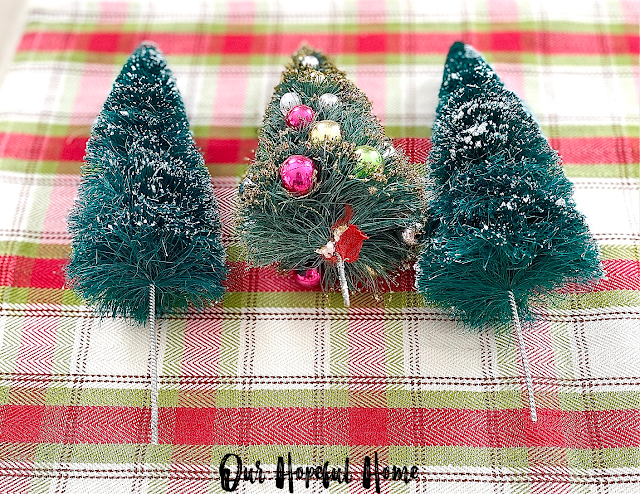
Step 1. Cut or pull off the bottoms off of your bottle brush trees so
that you're left with just the wire sticking out from the under the
tree.
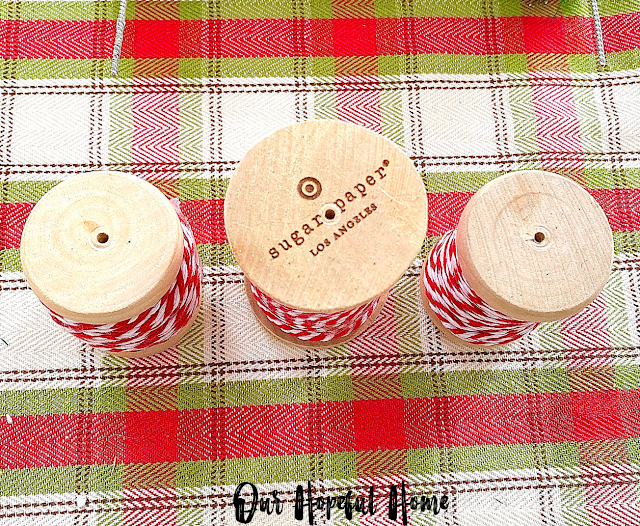
Step 2. If your bakers twine spools came with plastic wrapped around
them, be sure to remove the plastic.
Step 3. If your spools don't already have holes in the top for you to
place your tree wire into, using a pencil, mark the center of the wood
round on top of the spool. Then with a tool of your choice (I used a
drill), create holes where you've made the pencil marks.
NOTE: I USED TWO DIFFERENT TYPES OF TWINE SPOOLS. ONE SET WAS TALLER
AND HAD A VERY LARGE OPENING AT THE TOP TO PLACE THE TREE DIRECTLY INTO
IT. THE OTHER TWINE SPOOLS WERE SMALLER (LIKE IN THE TERRAIN VIGNETTE)
AND HAD WOOD DISKS ON THE TOP AND BOTTOM OF THE SPOOL -- WHICH IS WHY I
HAD TO DRILL THE SMALL HOLES. YOUR SPOOLS MAY DIFFER.
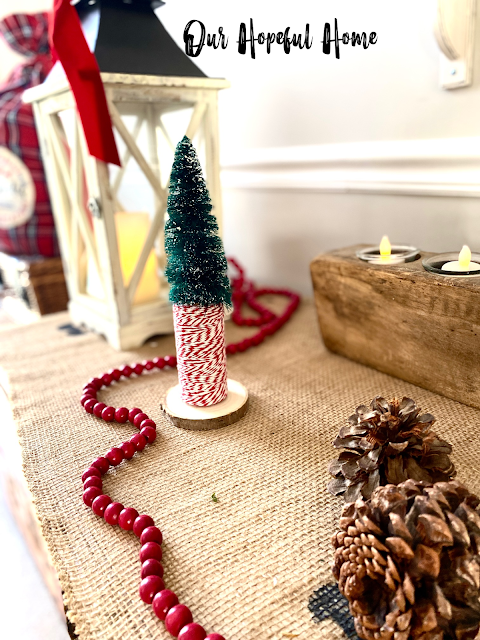
Step 4. Place your trees into their new "tree stands" and enjoy! (This
spool already had an opening I could just place the tree into.)
PART 2. HOW TO MAKE TERRAIN FOREST SCENE LIGHTED GLOBE ORNAMENT
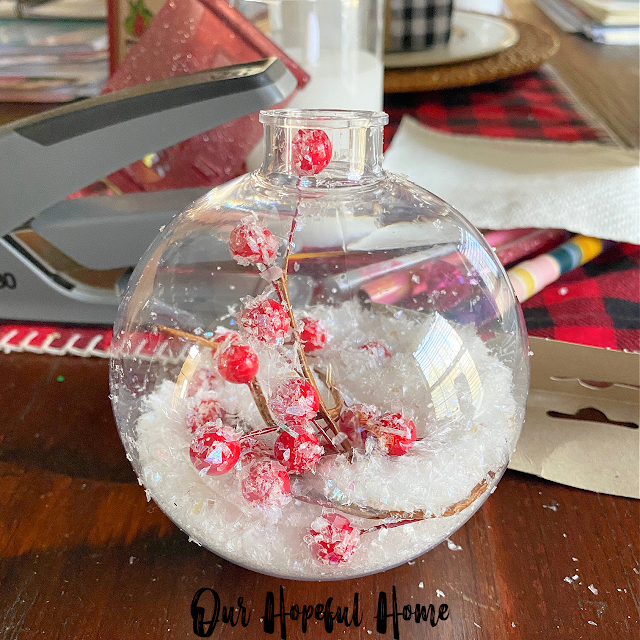
Step 2. Carefully pour faux snow into the opening at the top of the
ornament, filling the globe approximately one-third full.
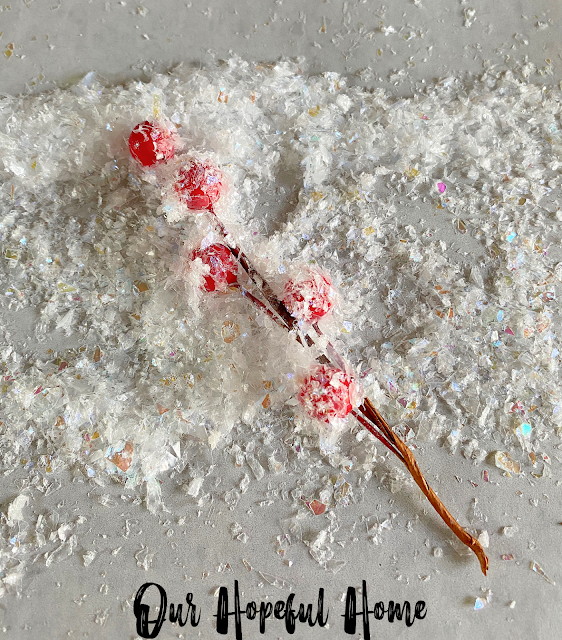
Step 4. Spray each piece of berry stem with adhesive spray (or cover
with Mod Podge) and then gently roll the stem in a pile of faux snow,
getting good coverage since some of the faux snow will eventually fall
off.
NOTE: YOU CAN ALWAYS USE TWEEZERS OR A SIMILAR INSTRUMENT TO ATTEMPT
TO REARRANGE THE STEMS. I BASICALLY JUST LET THE STEMS FALL WHERE THEY
MAY.
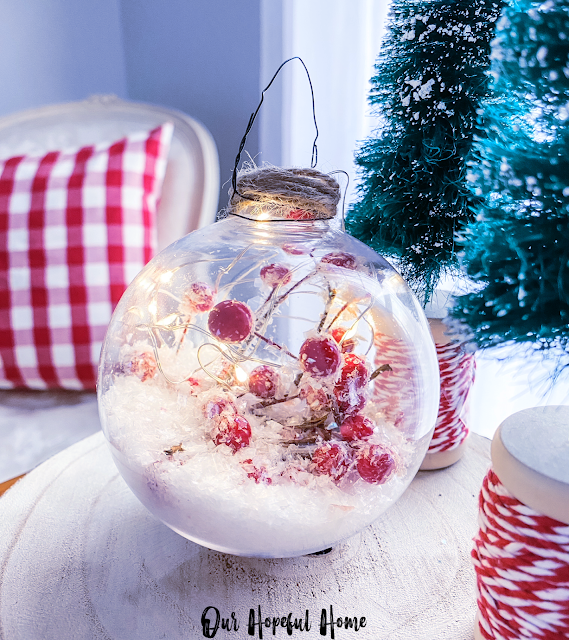
Step 7. Gently insert your string lights into the globe, pushing the
wire in until you're satisfied with the number of lights inside the
globe and their placement. Again, you can try and use a tweezer to
reconfigure the lights strand but I just let them be.
NOTE: SINCE THE LED LIGHTS ARE NOT PERMANENTLY INSTALLED INSIDE THE GLOBE
YOU WILL HAVE A BATTERY PACK TO DEAL WITH. I JUST MADE SURE TO HIDE
THE BATTERY PACK BEHIND MY VIGNETTE.
The beauty is that you don't have to be perfect here. You're
going for a casual, rustic look. The more imperfect the
better!
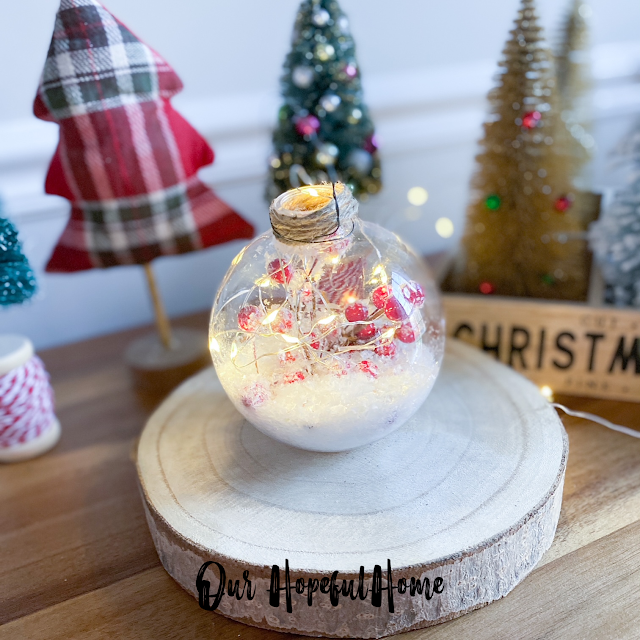
I set up the ornament and bottle brush trees in various vignettes.
I'm super happy with how both the lighted globe ornament and the bottle brush trees with twine spools turned out. I believe the Terrain ornament was $18.00, but I had all the necessary supplies on hand for both the ornament and the trees, so I definitely saved myself some cash. I just love it when that happens with my DIY projects!
Well, that's it for today, friends!
I hope you've enjoyed reading about my
Terrain Forest Scene Lighted
Globe Ornament Copycat
and that I've inspired you in some way.
Don't Forget To Pin It!
Be sure to stay in touch:









.png)


Leave a Comment!
Good Morning and Happy New Week. Your ornament and trees are just adorable. Very creative and love that you find so much from the dollar store. Have a great week getting ready for Christmas. xoxo Kris
Post a Comment