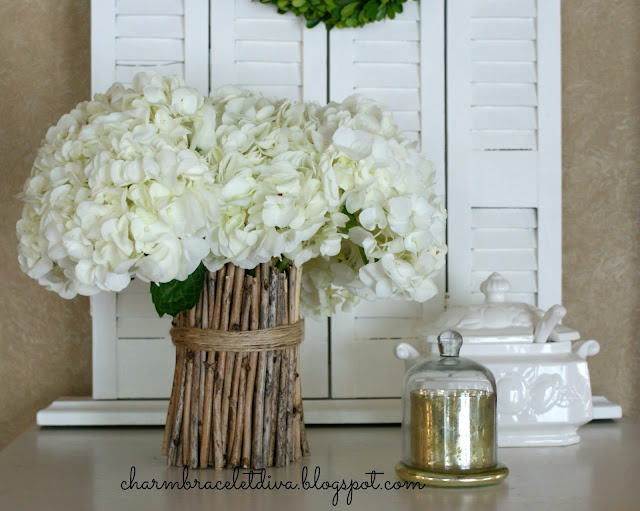
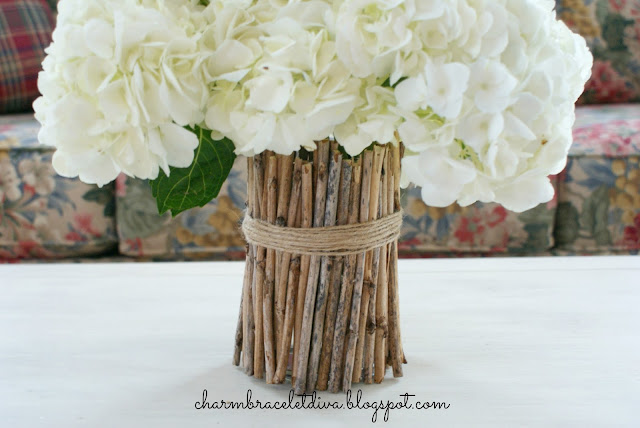
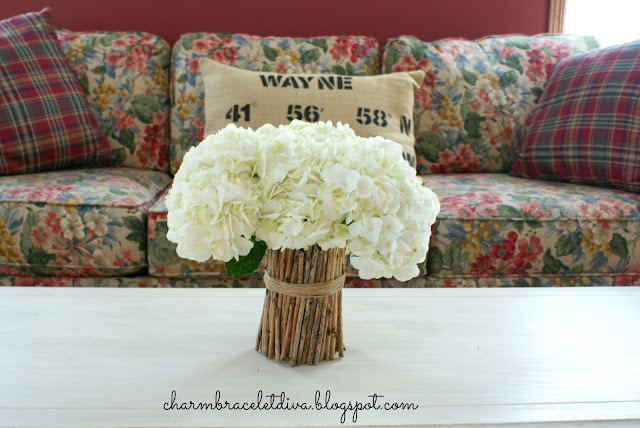
Hello and welcome back! I know today's DIY project has somewhat of an autumn feel to it, but I was recently inspired to create it so I thought I'd share. I'm happy to report that my simple DIY rustic twig vase is both inexpensive and easy to put together in no time. So let's get started shall we?
Materials
1. Dollar Store glass vase2. dried twigs
3. garden shears
4. rubber band
5. twine or ribbon of choice
6. brown construction paper (optional)
1. First, collect some dead twigs or branches from your yard. If you don't have any then perhaps you can collect some during a walk through the neighborhood.
Here's a pile of dead hydrangea bush twigs that I collected in order to help spur on the bush's growth process. I had every intention of throwing them away when I had an "aha" moment. Why not use them to decorate a simple glass vase that I already had in my stash? Because if there's anything I love more than a cheap and easy DIY home decor project, it's a new place to showcase fresh flowers!
Here's my glass vase. It was actually part of a three-vase set I purchased from Colonial Candle years ago. Each "vase" came with its own inner glass container that held a votive. I used to use them all the time. Now I don't use them for candles so I thought I might as well use them as vases! You can certainly purchase some for yourself at the Dollar Store.
3. Start by slowly and carefully placing the twigs, one by one, underneath the rubber band. The band will hold them in place.
4. Use your garden shears to cut the twigs down to size. I cut mine to be just a tad taller than the vase. And don't be worried about perfectionism with this. We want it to look natural, remember?
6. Once the entire vase is covered with twigs you can use twine or ribbon to mask the rubber band, as well as add a decorative touch.
Note: I've seen some people use brown construction paper to cover the vase before they put the rubber band around it. That way any spaces between your twigs will go unnoticed. In theory I believe that it's a good idea. In reality I was too impatient and went ahead and added the sticks before I thought about adding the construction paper. So do as I say, not as I do.
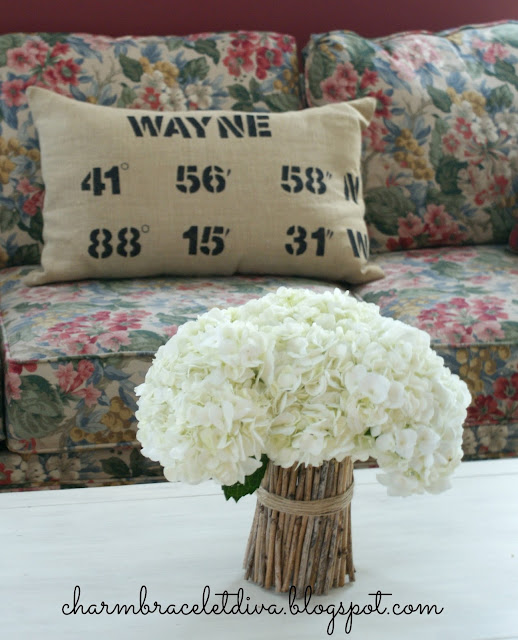
My husband bought me these incredibly beautiful hydrangeas "just because" and I thought they'd be a perfect fit for this vase. I was right.
You can always check out how I made my map coordinates pillow. It was fun, inexpensive and really quite simple.
I think this vase works well in any season, but especially in the fall when you can fill it with dried natural elements like colorful leaves and berried branches. I know I'll be trying it come October!
I hope you enjoyed reading about my DIY Rustic Twig Vase.
Thanks so much for spending time with me today!
Sign up for my newsletter --
don’t miss another thrifty,
DIY home décor post!


Leave a Comment!
Your Hydrangea twig vase is so lovely. Love a quick project like this one..
I adore anything that brings the outdoors inside, so this is perfect Kathleen! Pinned!
Cute vase and BEAUTIFUL flowers! You have a sweet hubby. I don't think you needed the brown paper.
Post a Comment