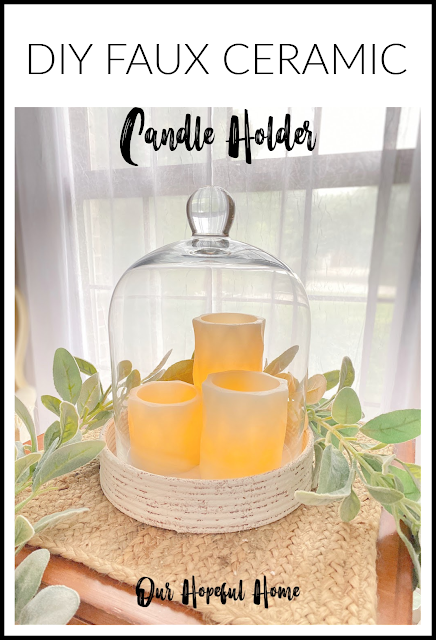
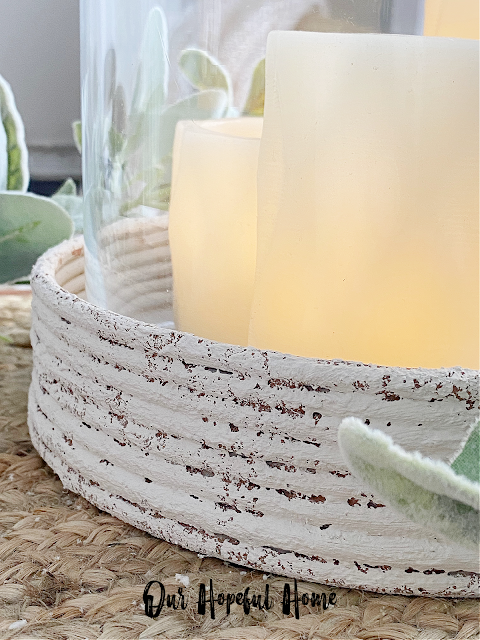
Today I'm sharing how I turned a $5.00 wooden plant stand into a copycat $36.00 faux ceramic candle holder using Saltwash.
This post contains affiliate links. A purchase of any one of these items helps to support this blog and its creative efforts at no cost to you. To read more, please see my disclosure page.
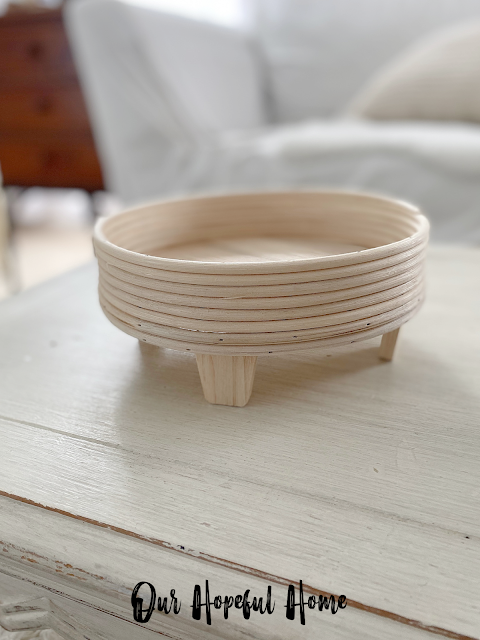
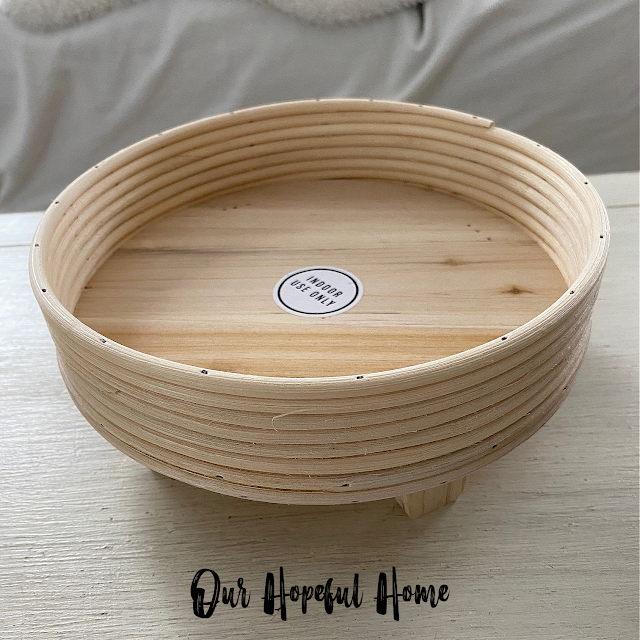
Then I saw this plain wood plant stand with legs in Target's Bullseye Playground for $5.00, and my mind got to thinking.
While not ceramic, it still reminded me of that Antique Farmhouse ceramic candle holder I fell in love with.
And something told me that I could make this into the candle holder I originally wanted with a little bit of DIY magic.
First I removed the four "feet" from the bottom of it. And in order to make it look a bit more ceramic, I knew it had to be painted. I also wanted it to look vintage and time worn. So I decided to try a product called Saltwash.
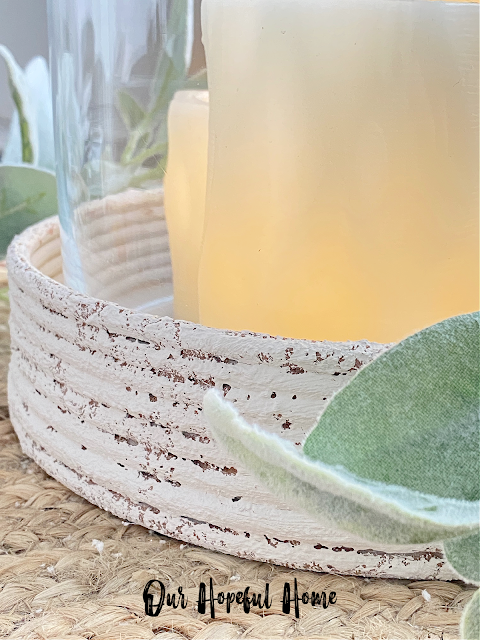
Saltwash is a powder base coat paint additive that gives an authentic, layered and weather worn look to almost any surface including wood, metal, ceramic, glass, plastic, fiberboard, luan, cement and fabric with no prep work required.
Supplies For Saltwash Project
1. Saltwash
2. paint brushes
3. paint
4. mixing container
5. stirrer
Step One
After mixing your base coat paint with Saltwash*, apply mixture with a paintbrush, using a glob-like technique, pulling up the peaks of your mixture.
Step Two
Once the Saltwash layer begins to dry, gently knock down the peaks with gentle paint brush strokes.
Step Three
After the Saltwash layer is completely dry, apply a top coat of paint in a different color (without Saltwash in it.).
Step Four
Once the top coat is completely dry, sand the surface down to reveal the Saltwashed layer in spots, giving the piece that timeworn look.
*If you go to their website you can find instructions on appropriate paint-to-Saltwash ratios. (The formula is basically 1 part paint to 3/4 part Saltwash.) The main tip is that you keep mixing the Saltwash into the paint until the mixture reaches that thick "icing-like" consistency.
You can save any leftover Saltwash mixture for up to 2 weeks (I am so going to use it for another project).
And while I did like the hurricane glass aspect of it, I also love my glass cloches, and I had one that fit inside the plant holder perfectly. Since the candles I was using were LED as opposed to candles with a real flame, I was able to use the cloche to cover them without any problem.
And honestly, since this is wood (despite looking ceramic now!), I would never use real candles in it. That would be incredibly dangerous!
I can't even tell you how much I enjoy the warm glow of the candles underneath the cloche at night. I know I'll be enjoying this faux ceramic candle holder for many years to come.
Well, that's it for today, friends!
I hope you've enjoyed reading about my
Faux Ceramic Candle Holder
Using Saltwash
and that I've inspired you in some way.
Don't Forget To Pin It!








.png)


Leave a Comment!
I haven't used Saltwash before, but I really love the results! Great makeover!
I LOVE this, Kathleen!!! It looks incredible! Also, where did you find that glass cloche? I've been looking for one but they are so expensive! Thanks for sharing today!
Thank you for sharing your faux ceramic candle holder at Create, Bake, Grow and Gather this week Kathleen. It looks great!!
I'm delighted to be featuring your project at the party tonight and pinning too.
Hugs,
Kerryanne
Post a Comment