DIY Easter decor doesn't have to be expensive or difficult to make. While
I've scaled back tremendously on my Easter decorating, I'd still like to
have at least some evidence of the upcoming Easter holiday in my
decor.
One way to do that is by putting together an understated coffee table
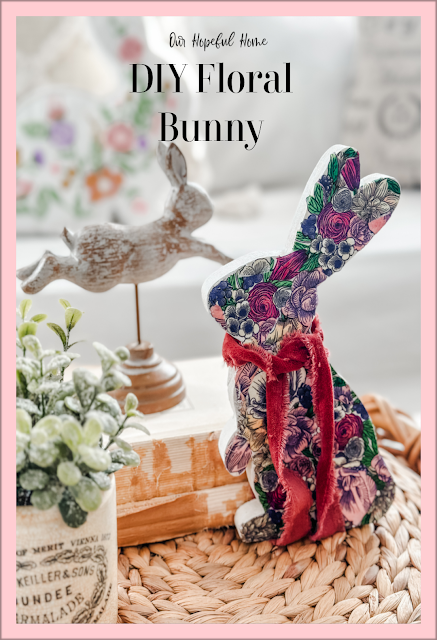
vignette with a colorful DIY decoupaged Easter bunny. Stick around to see
how I made both.
This post contains affiliate links. A purchase of any one of these items
helps to support this blog and its creative efforts at no cost to you. To
read more, please see my disclosure page.

SUPPLIES FOR MAKING DIY DECOUPAGE BUNNY
HOW TO DECOUPAGE A WOODEN BUNNY
1. Paint the wooden bunny - front, sides and back - with white craft
paint. The white paint helps make the colors of your floral napkin really
pop.
2. Most napkins have either two or three layers. This napkin had two
layers. I used both layers despite the fact that some people say you should only use the single, thin (and flimsy) printed layer.
I tend to favor using the printed layer and one of the white layers
because in my experience it makes the napkin a bit sturdier and easier to
work with, and there's less chance of ripping it.
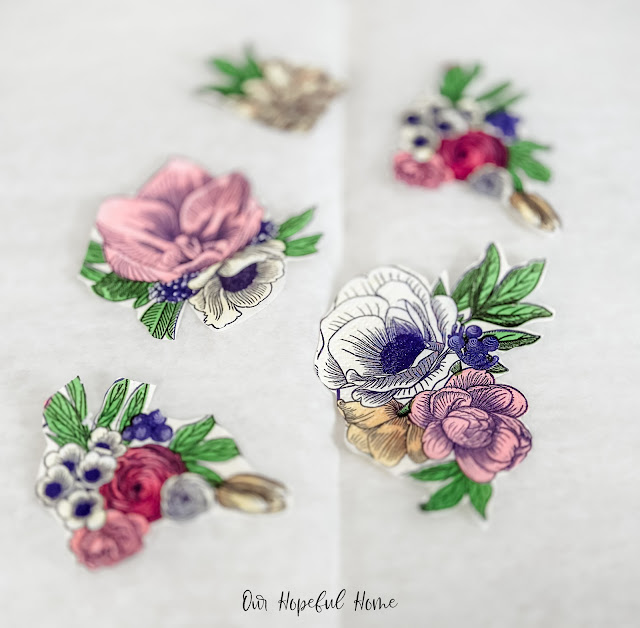
3. Cut out the flowers.
4. Using your flat-edged paint brush, apply Mod Podge to the section of the
bunny you're working on, then apply your piece of napkin to that area.
Paint over the napkin with one last touch of Mod Podge as insurance,
smoothing out any wrinkles as you go. (I like to cover the work area with
wax paper since it's less likely to get sticky from the Mod Podge than
regular paper.)
Continue with more napkin pieces until you've covered the entire
bunny. Don't worry if the napkin rips, you can always start again with another
piece of napkin!
5. If the napkin hangs over the edges you can use your emery board or
sandpaper to smooth those edges out.
6. Some people go back and cover the entire thing with another coat of
Mod Podge for good measure OR spray on some Mod Podge Ultra Gloss Spray On Glue And Sealer. Since my bunny isn't going to get manhandled too much I skipped this
step.
7. Once the Mod Podge is dry you can add a pretty velvet ribbon around
the neck, as well as any other decorative element you think will enhance
the look, i.e., some cotton for a tail.
Now on to the next part: styling the decoupage bunny on the living room
coffee table!
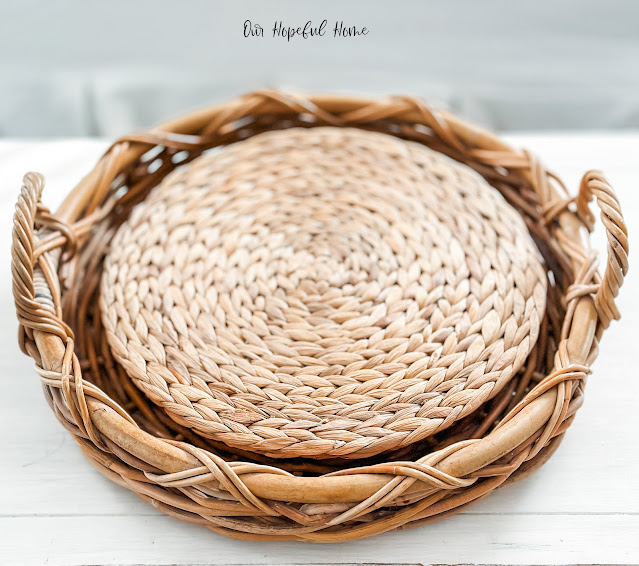
When styling our coffee table, I often fall back on this rather large,
thrifted round rattan tray. Using a tray is always a good idea for
corralling the decor on your coffee table.
Once you have a tray you can begin layering your decor. Since my tray is
rather deep, I usually insert a few round rattan placemats to give my
items a lift.
Then you can start adding various decor items to see how they look when
paired with your DIY decoupage Easter bunny. Don't be afraid to
experiment!
My inspiration for the vignette was this adorable embroidered Easter
bunny pillow. I found it at Wal-Mart for $9.98! If you're interested in
getting one I would run, not walk because I predict they will fly off
the shelf!
If you can't get one from Wal-Mart, you can order one of two
embroidered bunny pillows from Amazon:
For my Easter coffee table display I started with a few vintage
deconstructed books (another hack for giving the vignette some
height).
Then I added:
1. a wooden bunny on metal stand
2. DIY floral decoupage bunny
3. vintage Dundee Marmalade crock filled with faux greens
4. pink milk glass votive candle
You don't have to go big to establish a spring/Easter vibe in your
home. I'm thrilled with my understated, subtle Easter coffee table
decor. Do you do Easter?
Well, that's it for today, friends!
I hope you enjoyed reading about my
DIY Floral Decoupage Bunny
and Easter Coffee Table Decor
and that I've inspired you in some way.
Don't Forget To Pin It!
Be sure to stay in touch:
Don’t miss another
thrifty,
DIY home décor
post!


.png)


Leave a Comment!
Your little diy bunny is so cute Kathleen!
I love your floral bunny and he looks perfect on your coffee table, Kathleen.
Very cute Kathleen. Some of the napkins have such pretty patterns and using the Hodge Podge is a great idea. Happy Wednesday. Kris
ADorable, Kathleen, both your decoupaged bunny and that pillow! I like how you stacked your placemats in that wicker tray too. They are often uneven anyway, and that lift makes it more stable.
That is so adorable Kathleen!!
Post a Comment